


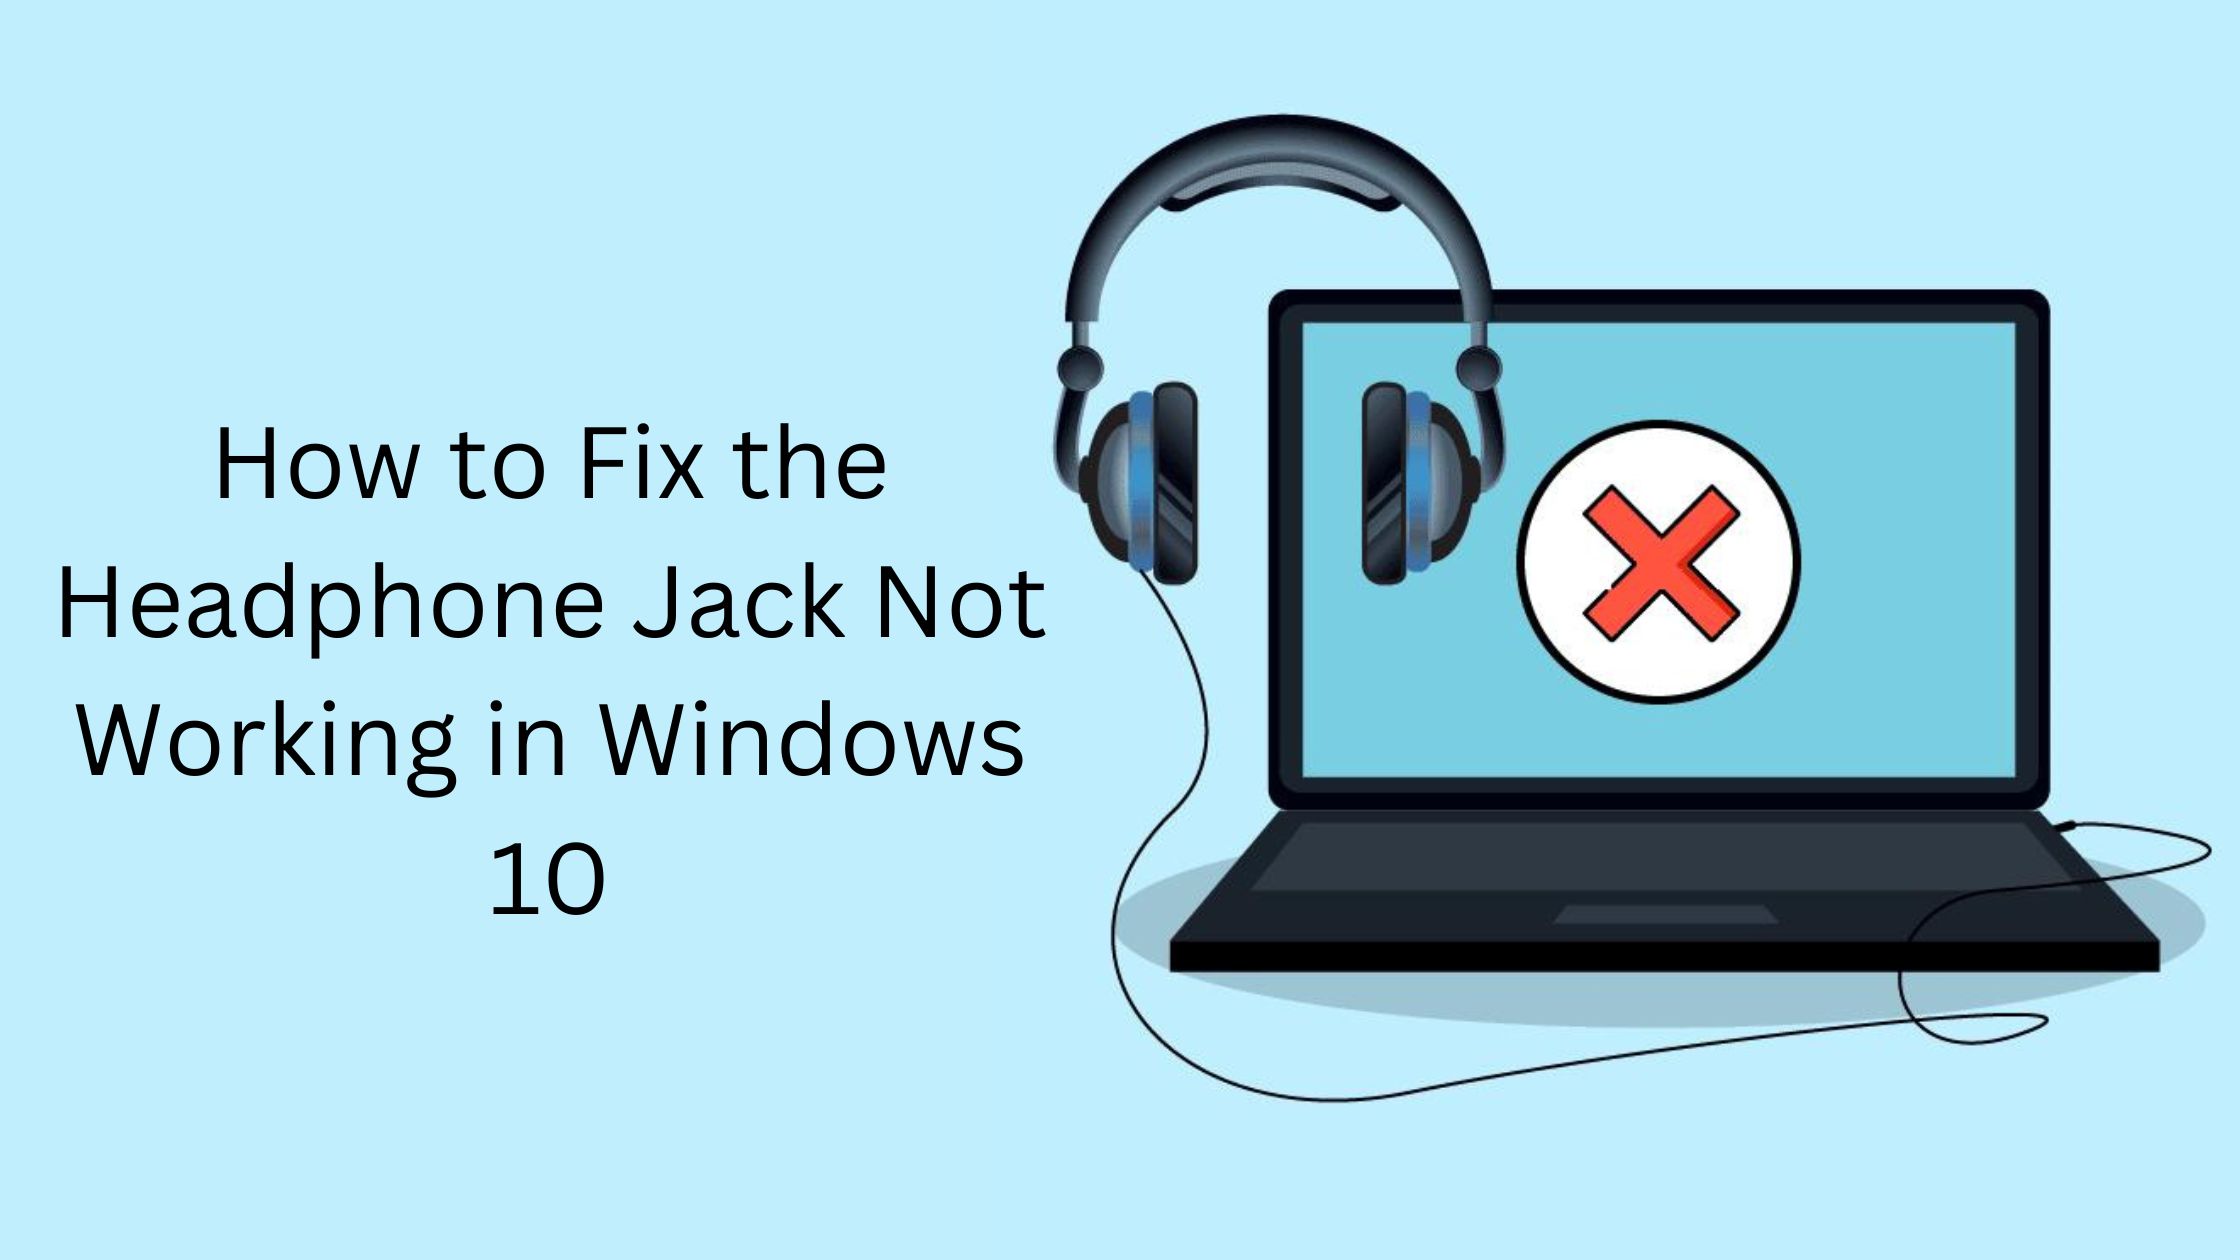
If you’re having trouble with your headphone jack not working in Windows 10, don’t worry, you’re not alone. Many users have reported this issue, and it can be frustrating. There are a few things you can try to fix the problem.
We will tell you how can you fix the Headphone Jack Not Working in Windows 10-
First, check to make sure that your headphones are plugged in all the way. Sometimes the problem can be as simple as a loose connection. If that doesn’t work, try unplugging and replugging your headphones into the jack a few times. This can sometimes help to break up any gunk that may be causing the problem.
If those two solutions don’t work, you can try troubleshooting your audio drivers. To do this, go to Start > Settings > Update & Security > Troubleshoot. From there, select “Playing Audio” and follow the instructions provided.
Still no luck? Don’t worry, there’s one more thing you can try. Go to Start > Settings > System > Sound. Under “Select your output device,” make sure that “Headphones” is selected. If it isn’t, select it and then click “Apply.”
If you’re still having trouble, there are a few more things you can try. First, try updating your audio drivers. Outdated or corrupted drivers can sometimes cause this issue. You can do this by going to the Device Manager (just search for it in the Start menu).
Find your audio device under “Sound, video, and game controllers” and right-click it. Then select “Update Driver.” If there’s an update available, install it and see if that fixes the problem.
If that doesn’t work either, you could try resetting Windows 10 audio settings back to their defaults. To do this, just search for “audio” in the Start menu and open the “Sound” settings panel. Here, click on “Device Properties,” then “Advanced.
Other way to Fix the Headphone Jack Not Working in Windows 10
First, make sure that your headphones are properly plugged into the jack. If they’re not snugly fit, they may not be making a good connection. Try wiggling them around a bit to see if that helps.
If that doesn’t work, try restarting your computer. This will sometimes clear up any software glitches that may be causing the headphone jack to malfunction.
If neither of those solutions works, you may need to update your audio drivers. You can do this through Device Manager (just search for it in the Start menu). Find your sound card under “Sound, video, and game controllers” and then right-click it and select “Update Driver Software.” If there’s an update available, follow the prompts to install it.
Once you’ve tried all of these things, hopefully, your headphone jack will be working again in Windows 10!
If none of these solutions work for you, then you may need to replace your headphone jack. Fortunately, this is relatively easy to do and shouldn’t cost too much money.
These are the ways that you can use to fix the Headphone Jack Not Working in Windows 10.

